

Walk into any boho home that actually feels designed — not just decorated — and you’ll notice something the photos online don’t always make obvious: the walls are doing as much work as the furniture. Maybe more. In a small apartment especially, where floor space is tight and every piece of furniture has to be practical, the walls are often the only place you get to be a little impractical, a little artistic, a little you.
And yet wall decor is also where most people get stuck. Too little, and a room feels unfinished. Too much, and it tips from “curated” into “cluttered” — which is exactly the trap that gave boho its reputation for chaos in the first place. The good news is that there’s a real method behind the boho walls that actually photograph well, and once you see it, you can’t really un-see it.
This guide breaks that method down into five categories you can mix and match, plus a section specifically for renters who can’t put a single hole in the wall — because honestly, that’s most of us.
The Three Rules of a Boho Wall (Before You Hang Anything)
Every gorgeous boho wall — the kind people screenshot and save — follows the same three quiet rules, even when it looks effortless.
Rule one: vary the texture, not just the image. A wall of five framed prints, even beautiful ones, reads as flat no matter how artistic the images are. A wall with one framed print, one woven piece, and one mirror reads as rich, because your eye has more than one surface to travel across.
Rule two: let one piece be the anchor. Pick the largest or boldest item — usually a macramé hanging, an oversized print, or a statement mirror — and build everything else around it at roughly two-thirds its visual weight or smaller. Without an anchor, even a beautiful collection of pieces ends up looking scattered.
Rule three: leave negative space on purpose. The instinct in boho styling is often “more,” but the walls that actually feel intentional always leave breathing room between pieces — at least a hand’s width, ideally more. Crowding everything together is what turns curated into cluttered.
Mixed Gallery Walls (Ideas 1–3)
1. Build around three different shapes. A rectangular frame, a round mirror, and an irregularly shaped woven piece together create visual rhythm that a wall of identical frames never will.
2. Use a consistent frame material, not a consistent frame size. Sticking to natural wood or rattan frames throughout — even in different sizes — keeps a mixed gallery from feeling random.
3. Hang slightly asymmetrically on purpose. Perfectly even spacing actually reads as more sterile than a deliberately offset, slightly irregular arrangement — which, counterintuitively, takes more planning to get right, not less.
Macramé and Woven Pieces (Ideas 4–6)
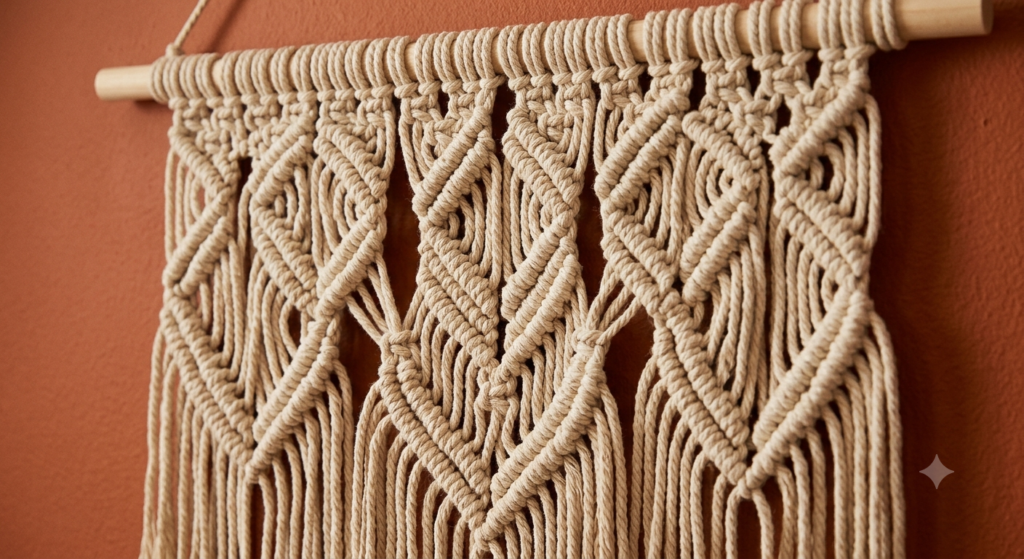
4. Choose one large piece over several small ones. This is the single biggest shift in boho styling over the past couple of years — instead of scattering small macramé pieces everywhere, choose one substantial, well-made piece as a focal point above a bed or sofa.
5. Look for natural, undyed cotton or jute rope. Bright dyed macramé reads as “craft fair” rather than “designer.” The pieces that photograph best almost always stay in cream, natural, or warm taupe tones.
6. Pair macramé with something structured nearby. A single framed print or a clean-lined mirror beside a macramé piece keeps the softness from tipping into shapelessness.
Boho Mirrors (Ideas 7–9)
7. Choose a round mirror with a rattan or driftwood frame. Round shapes soften a room full of straight furniture lines, and the natural frame material ties it directly into the rest of an earthy palette.
8. Hang a mirror opposite a window. Beyond the styling benefit, this genuinely makes a small room feel brighter and larger by bouncing daylight back across the space.
9. Use an oversized mirror as the room’s anchor piece. In a small room without space for a large piece of furniture, an oversized mirror can do the same visual job — filling a wall and grounding the space — without taking up a single inch of floor.
Decorative Wall Shelves (Ideas 10–12)
10. Choose a floating wood shelf over a traditional bracket shelf. The cleaner lines read as more intentional, and they showcase small styled objects — a vase, a small plant, a stack of books — without visual clutter underneath.
11. Style shelves with the rule of three. Group objects in threes of varying height for a curated look rather than a single centered object, which tends to look sparse, or five-plus objects, which tends to look busy.
12. Use a shelf to break up a tall, empty wall. In rooms with high ceilings, a single floating shelf placed about two-thirds up the wall draws the eye up and makes the whole room feel more proportioned.
Botanical Art and Prints (Ideas 13–14)
13. Choose prints with visible texture, not flat digital illustrations. Watercolor or pressed-botanical-style prints feel more aligned with boho’s handmade aesthetic than crisp graphic illustrations.
14. Group 3–4 prints of varying sizes rather than one large piece. A small cluster of botanical prints in slightly mismatched but coordinating frames creates the “collected over time” feeling boho is known for.
How to Hang Everything Without Damaging Your Walls (Idea 15)
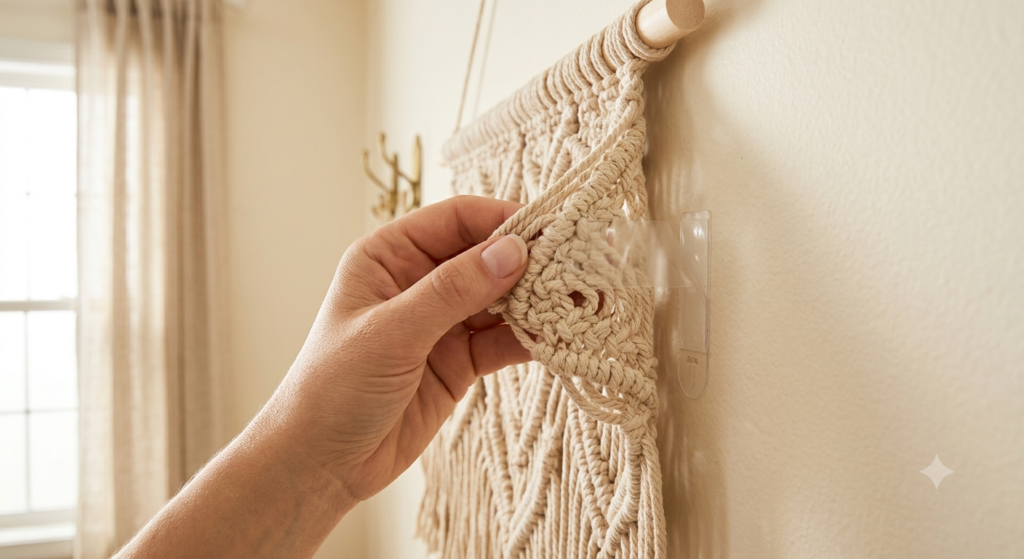
15. Use damage-free hanging strips rated for the actual weight of your piece. This is the single most useful tip for renters: check the weight rating on the package, not just the size, since a large macramé piece can be deceptively heavy once it’s fully assembled. For heavier mirrors, a combination of strips plus a small leaning easel against the wall (rather than hanging at all) is often the safer choice.
Shopping List
A few categories worth prioritizing as you build out a wall: one large macramé or woven fiber piece as an anchor, two to three botanical prints in natural wood or rattan frames, one round mirror with a natural frame, a single floating wood shelf, and a pack of weight-rated damage-free hanging strips if you’re renting.
Final Thoughts
A great boho wall isn’t really about how many things you hang — it’s about variety of texture, one clear anchor piece, and the discipline to leave some space alone. Start with the anchor piece first, build outward from there, and resist the urge to fill every remaining inch. The walls that get saved and screenshotted are almost always the ones that knew when to stop.
Save this guide to Pinterest so you can reference it room by room as you build out your gallery wall.